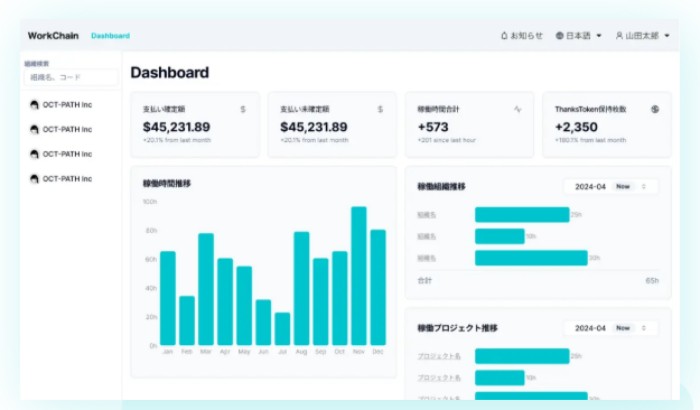
Member Settings
Displaying the Settings Screen
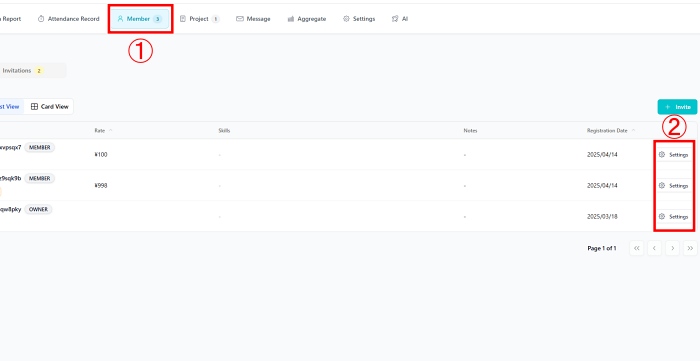
- Select the “Members” tab from the organization dashboard.
- Click the “Settings” button for the member whose settings you want to change.
Member Settings Screen
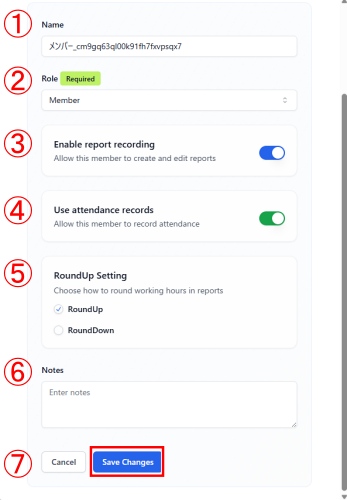
- You can edit the member’s name.
- You can change the member’s role.
*For details about each role’s permissions, click here. - You can turn the report creation (work report) setting ON or OFF.
*It is recommended to keep this setting ON. - You can turn the attendance record setting ON or OFF.
- You can configure how to round the working hours in reports.
Choose whether to round up or round down (the default is round up). - You can add notes or remarks.
- If you made any changes, be sure to click “Save Changes”.
Wage Settings
Displaying the Settings Screen
- From the member settings, select “Wage Settings.”
- Click “Add.”
*The salary labeled “Current” next to the display name indicates the currently applied hourly wage.
Salary Settings Screen
- Select the currency (USD or JPY).
- Enter the hourly wage amount based on the selected currency.
*Only numeric values can be entered here. - Set the effective period.
Click the field under “Effective Period” to open the calendar and select a date. - If everything is correct, click “Add.”
Deleting a Member
- From the member settings, select “Delete Member.”
- Click “Permanently Delete Member.”
*As shown on the screen, once deleted, all data associated with that member will be permanently erased. Please proceed with caution.